How to teach live classes online: setup, structure and keeping students engaged
Clear sound, a session plan that keeps students doing something, a way for them to respond, and a record of who came. The practical setup for teaching live online, with a pre-class checklist.
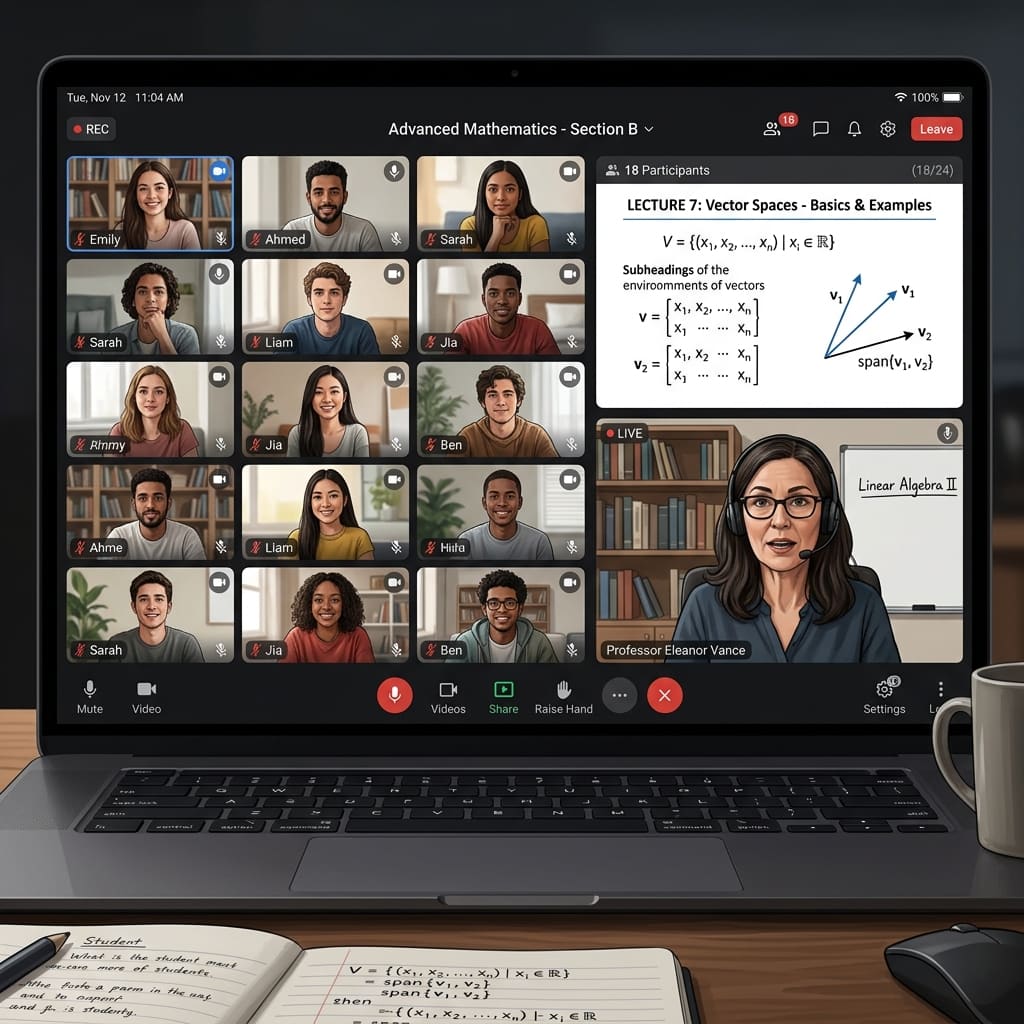
To teach live classes online well you need four things, and none of them is expensive: sound that students can hear clearly, a session plan that has students doing something every few minutes, a way for them to respond without talking over each other, and a record of who came and what you covered. Get those right and a laptop at a kitchen table is a perfectly good classroom.
This guide takes them in the order you will meet them: the equipment that is enough, how to structure a 60-minute session, when to use a whiteboard and when to share your screen, how to use polls, questions and hand-raising, how to handle attendance and recordings, how to schedule across time zones, and what to do when something breaks. It ends with a checklist to run before every class.
Equipment that is enough
Most new online teachers overspend on a camera and underspend on sound. Students will put up with a soft picture for an hour. They will not put up with audio that cuts out, echoes or sounds as if it is coming from the far end of a hallway. Spend your attention in this order: sound, connection, light, camera.
| What | What is enough | When to upgrade |
|---|---|---|
| Microphone | Wired earbuds with an inline mic, or any basic USB microphone, close to your mouth | When students say you sound distant, or you teach several hours a day |
| Headphones | Any pair. They stop your speakers feeding back into your microphone | Never required, though comfort matters on long days |
| Connection | Your home internet, with the computer near the router or on a cable, and other devices idle during class | When video freezes regularly even with other devices off |
| Light | A window or a lamp in front of you, not behind you | When you teach after dark: one soft lamp or a ring light |
| Camera | The laptop's built-in camera, raised to eye level on a stack of books | When you need to show physical objects or handwriting on paper |
| Writing | A mouse or trackpad on a digital whiteboard, used sparingly | When you write a lot: a pen tablet, or a tablet with a stylus |
| Second screen | Not needed to start | When you want to see students' faces while you present |
Your room matters as much as your gear. Sit with a plain wall or a tidy shelf behind you, close the door, and silence notifications on the computer you are teaching from. Soft surfaces such as a rug or curtains cut the echo that makes a voice tiring to follow, and they cost nothing if they are already in the house.
Keep a way back in
Have the class link open on your phone, on mobile data, before every session. If your home internet drops, you can rejoin from the phone and tell students what is happening. A teacher who vanishes with no explanation loses the room. One who reappears on a phone and says "give me two minutes" does not.
How to structure a 60-minute session
The most common mistake in a live online class is to treat it as a lecture with a camera. Online, every student is one click away from something else, and you cannot see the small signs that tell you a room is drifting. The working rule that follows from this is simple: do not talk for more than about fifteen minutes without students doing something, and never let a whole session pass without hearing from them.
| Minutes | Part | What you do | What students do |
|---|---|---|---|
| 0–5 | Arrive | Greet each student by name; put a warm-up question on screen | Answer in the chat as they join |
| 5–10 | Recap and goal | A two-minute recap of last time; today's goal in one sentence | Listen; ask about last week's work |
| 10–25 | Teach | Explain one idea with one worked example | Follow along; note questions |
| 25–30 | Check | Run a poll or ask a one-line question | Answer; see how the group answered |
| 30–45 | Practice | Set a task; watch and help | Work the problem, alone or together |
| 45–55 | Questions | Take raised hands and written questions in order | Ask; listen to other people's questions |
| 55–60 | Close | Summarize in three points; set the assignment; name the next session | Write down the task and the deadline |
Here is the plan applied. Sarah Mitchell teaches Grade 8 algebra to a group of ten. Her goal for the session fits in one sentence: by the end, everyone can solve a two-step equation and check the answer. She opens with a warm-up on screen while students join, one equation from last week. She teaches a single worked example on the whiteboard, saying each step aloud. At minute 25 she puts up a poll: 3x + 5 = 20, with four possible answers, 5, 15, 25/3 and 45. Fifteen is what you get if you subtract the 5 and forget to divide by 3. Three students choose it, which tells her exactly what to explain again. Students then work four problems while she watches, and the last ten minutes are their questions.
Notice what is missing: there is no second topic. One idea, taught, checked and practiced, is a full hour. If you finish early, end early. Students remember a class that respected their time.
The first five minutes do the most work
Start on time, even if only half the group has arrived, and make the first minutes worth being there for. The warm-up question gives early students something to do and tells latecomers that the class has begun. Greeting each student by name as they join is a small thing that students notice, and it doubles as a check that their sound works.
Write the plan with times on it
A plan without times is a list of topics, and a list of topics always runs long. Write the seven parts on one page with the minute each should start, and keep it where you can see it while you teach. When you are five minutes behind at the check, you will know at minute 30 rather than minute 58, while there is still something you can cut.
Whiteboard and screen share
These are the two ways to show things, and they do different jobs. A whiteboard shows thinking: students watch a solution take shape one step at a time, at the speed of your hand. Screen share shows the real thing: a document, a spreadsheet, a piece of software or a website, exactly as students will see it on their own computers.
| Use the whiteboard when | Use screen share when |
|---|---|
| You are solving a problem step by step | You are demonstrating software or a website |
| You want to build a diagram as you explain it | You are walking through a document or slides |
| A student's question needs a quick sketch | You are reviewing a student's submitted work |
| You want students to write or mark something too | Students need to see exactly which button to click |
On the whiteboard, write larger than feels natural, because some students are watching on a phone. Keep one idea per board and start a fresh page rather than erasing, so that you can go back when someone asks about an earlier step. Say each step aloud as you write it. If you write a great deal, a pen tablet is the upgrade to consider before any camera.
When you share your screen, share a single window rather than your whole desktop, so that a stray notification or an open inbox never appears in front of the class. Enlarge the content to 125% or more. Move the cursor slowly and say what you are about to click before you click it. And stop sharing when you want a discussion: a shared screen pushes faces to the edge of the window, and people talk more readily to faces.
It helps when both live in the same place as the class. In Prolaud's live classroom the whiteboard is a tab beside the video, and screen share is a button in the same room, so you are not asking students to open a second tool in the middle of a lesson. The whiteboard stays hidden from students until you choose to show it, and you decide separately whether they can draw on it, which keeps a shared board from filling with doodles while you are explaining.
Polls, questions and hand-raise
In a physical room you read faces. Online you need tools to do the same job, and each of the three common ones answers a different question.
| Tool | The question it answers | How to use it well |
|---|---|---|
| Poll | Did the whole group understand? | One question, two to four options, with one option that is a common mistake. Show the result and explain the wrong answers |
| Written questions | What is unclear, from people who will not interrupt? | Tell students where to type questions. Answer them at set points, not as each one arrives |
| Hand-raise | Who needs to speak? | Take hands in the order they went up. Name the student, let them unmute, then lower the hand |
| Chat | What does everyone think, quickly? | Ask a short question and have everyone type an answer but wait to send it until you say go |
The last row deserves a note. Asking everyone to type an answer and send it on your signal means the quick students do not set the answer for the rest, and you get a response from every person rather than from the two who always speak. It works with nothing more than a chat box.
Two habits make all of these work. First, wait. After you ask a question, count silently to seven before you say anything else. It feels long to you and normal to the students, who need the time to unmute or type. Second, use names. "Lucas, what did you get for the second one?" gets an answer where "Does anyone have the second one?" gets silence. Tell students at the start of the course that you will call on people, and that a wrong answer is useful to the whole class, so that being named does not feel like being caught.
On Prolaud these are built into the classroom rather than added on. You can launch a live poll with two to four options and watch the results come in, students can post questions to a Q&A list and upvote the ones they share, and raised hands appear to you in a queue ordered by who raised first. More detail is on the live classes page.
A classroom with the whiteboard, polls and hand-raise already in it
Prolaud's live classes run in the browser with a whiteboard, screen share, polls, a question queue, raised hands, attendance and recording in one room.
See live classesKeeping students engaged for the whole hour
Engagement is not energy or entertainment. It is whether students are thinking about the subject. The structure above does most of the work, and a few habits do the rest.
- Give every student a job in the first ten minutes. Someone who has already typed an answer is far more likely to type the next one.
- Make being wrong normal. Thank students for wrong answers and use them to teach. A class where only correct answers are welcome goes quiet quickly.
- Do not make cameras a rule. Invite cameras on and explain why you like to see faces, but let students decide. Some are on a weak connection, some share a room, and a student who feels watched is not learning better.
- Change what students are doing, not just what you are saying. Moving from your explanation to your second explanation is not a change. Moving from listening to solving is.
- Refer to their work. "Maya's solution to the third problem is worth a look" tells every student that the work they hand in gets read.
- Follow up on absence the same day. A short message to a student who missed class, with the recording and the task, is the cheapest way there is to keep them in the course.
Attendance
Take attendance in every live class, and do not take it by hand. Reading names aloud costs teaching time, and a screenshot of the participant list records who was there at one moment, not who stayed. What you want is a record made automatically: who joined, when, for how long, and what the class was about.
Use the record to help, not to police. Its best use is spotting the student who has missed two sessions in a row while there is still time to write to them. Its second use is settling questions later: a parent asking whether their child attends, or your own decision about who has earned a certificate. For either, a student who joined for five minutes should not show up as present for the hour. We go into how to count this fairly in live class attendance, measured honestly.
In Prolaud, attendance is written as the class runs, from the teacher's view of the room, so it includes people who joined from a link without signing in. You can add the topic you taught to each class and export the record as a CSV or a PDF.
Recordings and replays
Record by default. A recording helps the student who was absent, the student who was present but lost at minute 20, and you, when you watch ten minutes of yourself and notice that you never paused for questions. Tell students at the start of the course that classes are recorded, and say who can watch the recordings and for how long.
- Post the replay the same day, while the class is still fresh and the assignment is still ahead.
- Add three or four timestamps: where the worked example starts, where the practice starts, where the questions start. A student looking for one step will not watch an hour to find it.
- Send absent students the replay with the task, not the replay alone. "Watch from minute 10 to minute 25, then do problems 1 to 4" gets done. "Here is the recording" does not.
- Decide how long recordings stay up. Until the end of the term, or for as long as the student is enrolled, are both reasonable. Choose one and say so.
- If you teach children, ask a parent's permission before you record, and check the rules that apply where you and your students live.
A replay is a safety net and a review tool. It is not a replacement for the class, and if most of your students watch later rather than attend, that is a signal about the time slot or the session itself. On Prolaud you start the recording from the host view, and finished recordings are collected in a recordings library. With any tool, find out before your first class where the file goes and who can open it.
Scheduling across time zones
As soon as you teach students in more than one region, the clock becomes part of your lesson planning. Start by writing down where your students are, then test candidate times against each place. The table shows how one Eastern time looks elsewhere.
| Eastern (New York) | Pacific (Los Angeles) | London | Berlin |
|---|---|---|---|
| 9:00 AM | 6:00 AM | 2:00 PM | 3:00 PM |
| 12:00 PM | 9:00 AM | 5:00 PM | 6:00 PM |
| 4:00 PM | 1:00 PM | 9:00 PM | 10:00 PM |
| 7:00 PM | 4:00 PM | Midnight | 1:00 AM |
Read down the table and the trade-off is plain. A noon Eastern class works on both sides of the Atlantic and is early but possible on the West Coast. A 7:00 PM Eastern class suits working adults in North America and nobody in Europe. There is no slot that suits every continent, so decide whose time you are designing for and say so on the course page.
- Always write the zone. "Tuesdays at 12:00 PM Eastern" rather than "Tuesdays at 12". Add a second zone if you have many students in one other region.
- Send a calendar invite for every class. A calendar converts the time for each student and keeps doing so when the clocks change.
- Keep the same slot every week. A class that moves is a class people miss.
- If no single slot works, alternate two, so that the awkward hour is shared instead of always falling on the same students.
- Offer a second, shorter question session at a different hour for students who can only watch the replay.
- Ask for each student's time zone when they enroll. It is one field on a form, and it turns scheduling the next course from a guess into a count.
Common failures and fixes
Something will go wrong in your first few classes. Nearly all of it falls into a short list, and each item has a fix you can apply while students wait and a habit that stops it happening again.
| What goes wrong | Likely cause | Fix it now | Prevent it next time |
|---|---|---|---|
| Students hear an echo | Someone's speakers are feeding their own microphone, often yours | Put on headphones; ask everyone to mute unless speaking | Teach with headphones every time |
| You sound distant or muffled | The computer picked the wrong microphone, or it is too far away | Check which microphone is selected; move it closer | Test your sound before each class and listen to the result |
| Video freezes or sound breaks up | The connection is overloaded | Turn your camera off for a minute; stop downloads; move closer to the router | Use a cable if you can; ask the household to stay off video during class |
| Students see a black or wrong screen | You shared the wrong window, or the browser lacks permission to capture the screen | Stop sharing and share the specific window again; ask a student to confirm what they see | Open what you will share before class and practice once |
| Nobody answers your question | The question was too open, or you answered it yourself too quickly | Ask everyone to type an answer in the chat, then wait | Plan the questions, with a poll or a chat answer for each |
| One student does all the talking | Open questions reward the fastest speaker | Thank them and call on someone else by name | Use the hand-raise queue and polls so that everyone answers |
| The class runs over | Too much material for the time | Stop at the planned time; move the rest to the next session | Plan one idea per hour and put times on the plan |
| Your internet drops | It happens to everyone eventually | Rejoin from your phone on mobile data; tell students what is happening | Keep the class link open on your phone before every class |
When something breaks in front of students, say what is happening in one sentence and give them something to do: "My screen share has stopped. Try problem 2 while I fix it." Thirty seconds of silence with a task feels like teaching. Thirty seconds of silence with no explanation feels like the class has ended.
A pre-class checklist
Run the same checks before every class until they are automatic. They take less time than recovering from any one of the failures above.
The day before
- Write the goal of the session in one sentence.
- Write the plan with a start time for each part.
- Prepare the warm-up question, the poll and the practice task.
- Send a reminder with the time, the zone, the link and anything students should bring.
- Open every file, slide and website you plan to show, and close the ones you do not.
Fifteen minutes before
- Restart the browser and close every tab and app you do not need.
- Put on headphones. Test the microphone and the camera, and listen to how you sound.
- Check the light on your face and what is visible behind you.
- Silence notifications on the computer and the phone.
- Open the class link on your phone as a backup.
- Open the whiteboard and the window you will share, and have the poll ready.
- Put water within reach and the plan where you can see it.
In the first two minutes
- Start the recording and tell students it is running.
- Ask one student to confirm they can hear you and see what you are sharing.
- Put the warm-up question on screen.
After class
- Post the replay, the assignment and the deadline in one message.
- Note the topic you actually covered next to the attendance record.
- Write to anyone who was absent.
- Write down one thing to change next time, while you still remember it.
Prolaud runs part of this for you. The host page has a pre-class check that tests your camera and microphone before you go live, and students get a quick device check for camera, microphone and speakers before they join, which moves the "can you hear me?" minutes out of the lesson.
Your first live class: start smaller than you think
If you have not taught live before, do not make the first paid session your first session. Run a 30-minute practice class with three people who are on your side: a friend, a colleague, a former student. Teach one small idea using the full structure, with a warm-up, one explanation, one poll, one task and questions. Record it and watch it once.
You will learn more from that half hour than from another week of preparation. You will find out how you sound, how long your explanation really takes, whether your screen is readable, and how it feels to wait in silence for an answer. Fix the one or two things that stood out, then teach the real class. If the real class is the first session of a course with a fixed group, the guide to running a cohort-based course covers what happens between the sessions.
Teach your first live class this week
Schedule a class, share one link with your students, and teach with the whiteboard, polls, raised hands, attendance and recording in the same room.
Start with ProlaudKeep reading
Renu Rawat
Founder of prolaud.com. Helping teachers and creators build profitable, independent learning businesses without losing a cut of every sale to platform fees.
About the founderFrequently asked questions
- What equipment do I need to teach live classes online?
- A computer, a stable internet connection, a pair of headphones and a microphone close to your mouth. Wired earbuds with an inline microphone are enough to start. Add light in front of you from a window or a lamp, and raise the laptop so that the camera is at eye level. Sound matters more than picture, so upgrade the microphone before the camera.
- How long should an online live class be?
- Sixty minutes suits most subjects and ages from the early teens up, provided that students are doing something active for more than half of it. Younger children usually do better with 30 to 45 minutes. If you need 90 minutes, repeat the teach, check and practice cycle and add a short break in the middle rather than talking for longer.
- How do I keep students engaged in an online class?
- Change what students are doing every ten to fifteen minutes. Open with a warm-up question that everyone answers, check understanding with a poll after you teach, give a task to work on, and take questions by raised hand. Call on students by name, wait several seconds after each question, and treat wrong answers as useful.
- Should students keep their cameras on?
- Invite it, do not require it. Faces help you teach, and many students are happy to be seen if you explain why you ask. Others are on a slow connection or in a shared room. You can judge engagement more reliably from whether students answer polls and questions than from whether you can see them.
- Should I record my live classes?
- Yes, as a default. Recordings help absent students catch up and let present students review a step they missed. Tell students that you are recording, post the replay the same day with timestamps and the assignment, and decide how long recordings stay available. If you teach children, ask a parent's permission first.
- How do I schedule live classes for students in different time zones?
- List where your students are and test each candidate time against every location. Late morning or noon Eastern works for North America and Europe together. Always write the time with its zone, send a calendar invite so that the time converts automatically, and keep the same slot each week. If no single time works, alternate two slots or add a second question session.
- What should I do if my internet fails during class?
- Rejoin from your phone on mobile data and tell students what is happening. This is why it helps to open the class link on your phone before every session. Give students a task to work on while you reconnect. If you cannot get back in within a few minutes, end the class with a message, share what you covered, and schedule a make-up session.
- Can I teach live classes with an ordinary video-call app?
- Yes. A general video meeting tool gives you the room, and for a handful of students that can be all you need. What it leaves to you is everything around the room: enrolling students, keeping an attendance record tied to each of them, setting assignments and storing recordings where students can find them. A teaching platform keeps those in the same place as the class.
- How many students can I teach in one live class?
- It depends on how much each student needs to speak. For discussion and individual feedback, a group of about six to twelve lets everyone take part in an hour. For a class that is mostly explanation with polls and written questions, you can teach far more, but each student gets less of your attention. Decide which kind of class you are running before you set the size.
Keep reading
How to run a cohort-based course: a week-by-week playbook
A cohort is a promise that specific things happen on specific days. Here is how to size it, price it, fill it and run it as a weekly rhythm, from enrollment to certificate to cohort 2.
Read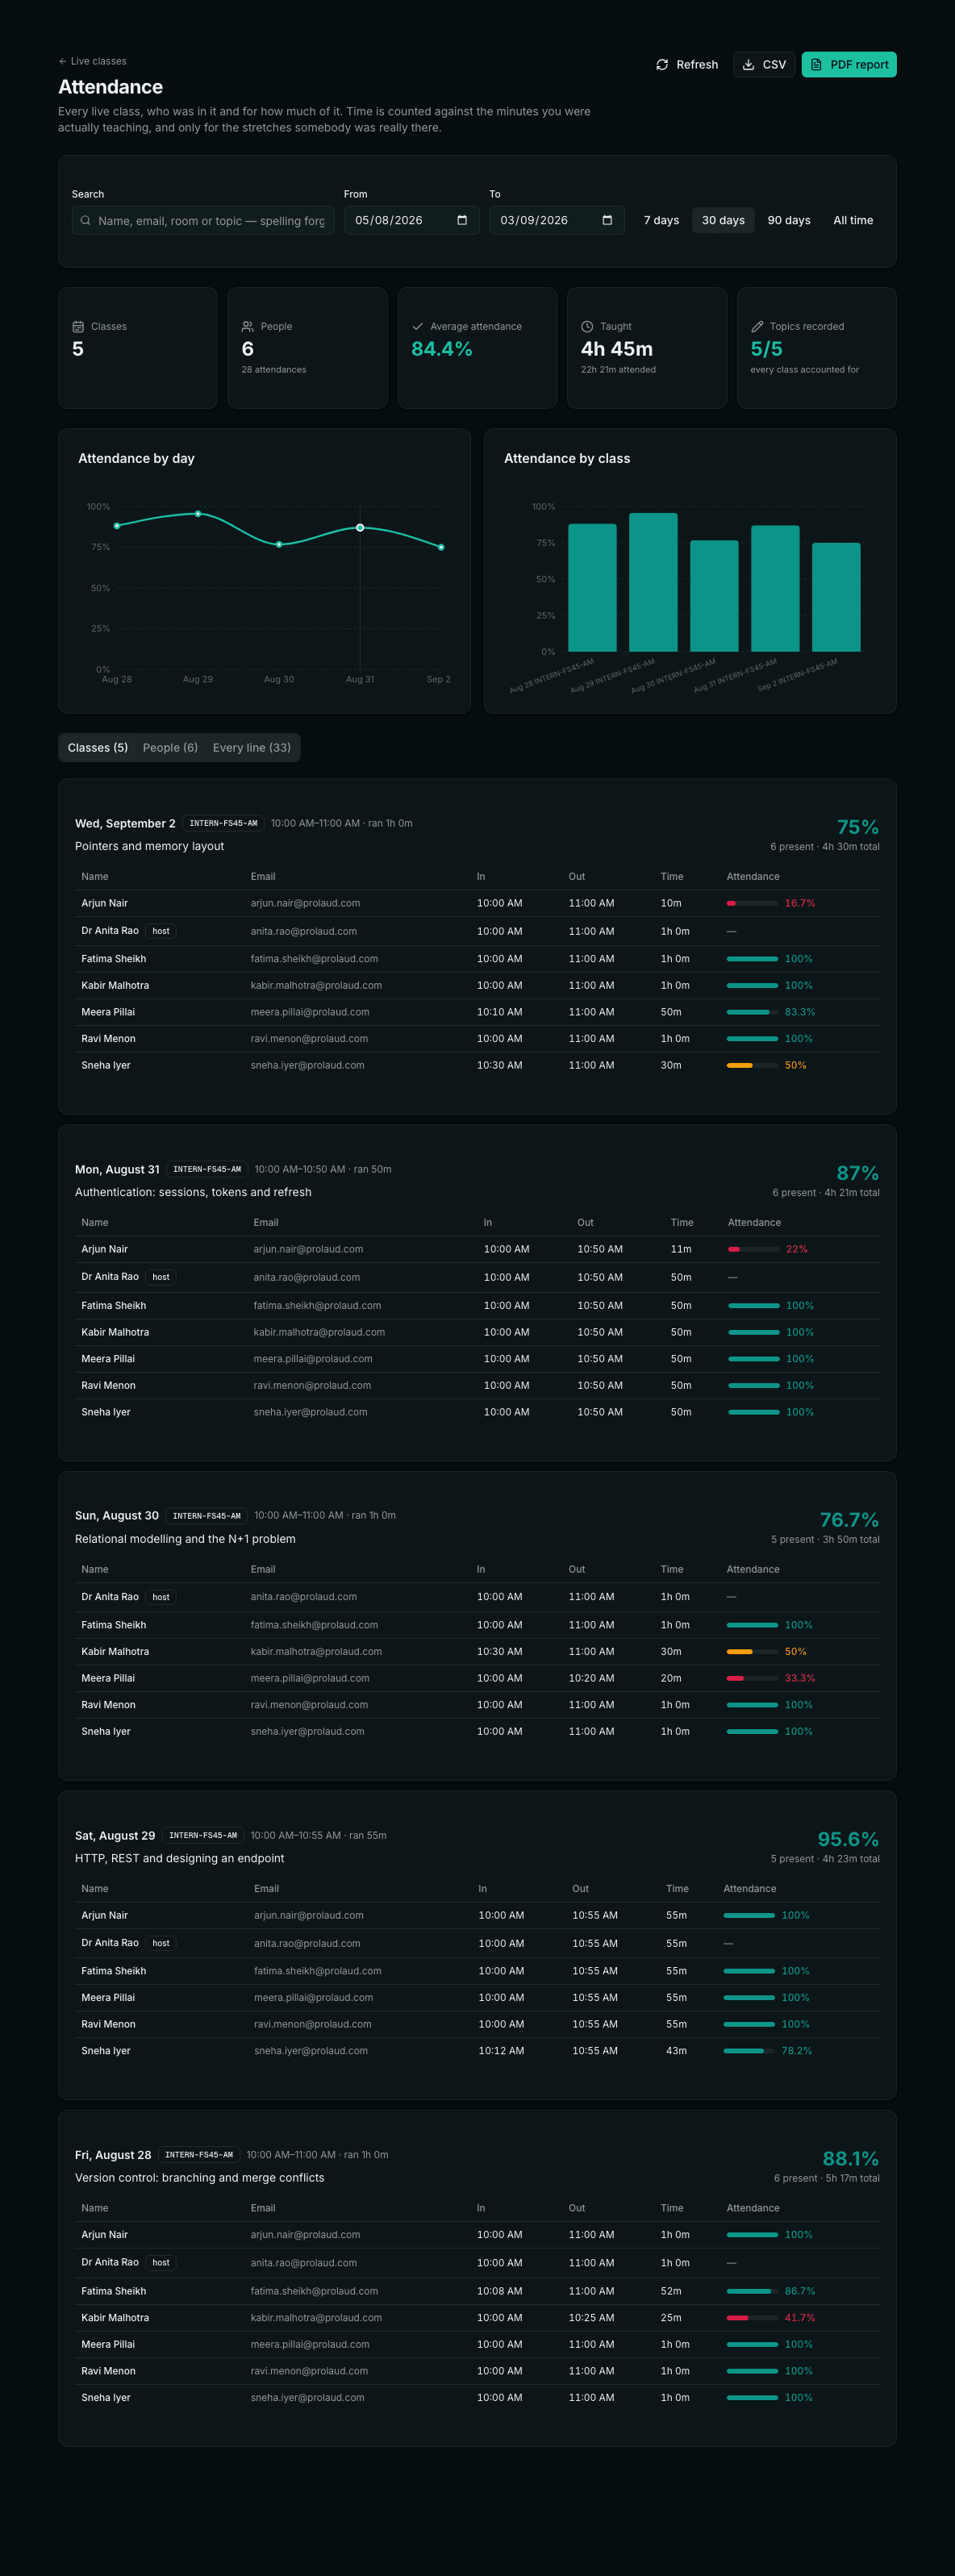
Live class attendance, measured honestly
A join-to-leave span is not attendance, and the scheduled hour is not the denominator. What an honest live-class register actually measures — and why what you taught belongs on the same row.
Read
How to Improve Student Retention in Online Courses
Completion is the metric nobody brags about — because most courses have terrible numbers. Here's why students quit, and the levers that actually get them to the finish line.
Read
What It Costs to Run Your Classroom and Your Checkout as Two Systems
The classroom is the easy part. The cost of teaching online is reconciliation — matching attendance to payments across systems that do not speak to each other.
Read