For creators
Draw on your slides during a live class (Freeze & Mark)
Circle a word, underline a rule, mark up a diagram — straight on top of whatever you're presenting, so the class sees exactly what you mean. Works with Canva, Gamma, Google Slides, Docs and PDFs, with nothing to export or convert.
Last updated Aug 24, 2026
While you share your screen, Freeze & Mark holds the current slide still and gives you a pen. Everything you draw appears for your students as you draw it, and it lands in the class recording too. When you're done you resume, and your live slides come straight back.
Before you start: share the window, not the whole screen
When you click Share screen, your browser offers a few choices. Pick the window or tab that holds your slides — your Canva tab, your Gamma deck, your Google Slides — rather than Entire Screen. Your class then only ever sees your slides, so when you switch over to pick up the pen they don't see your desktop, your notes or your inbox. The pen still works if you share the whole screen; you'll just see a reminder about this on the sharing panel.
Marking up a slide
Teach as normal first. Animations, transitions and videos all play exactly as before — nothing changes until you decide to draw.
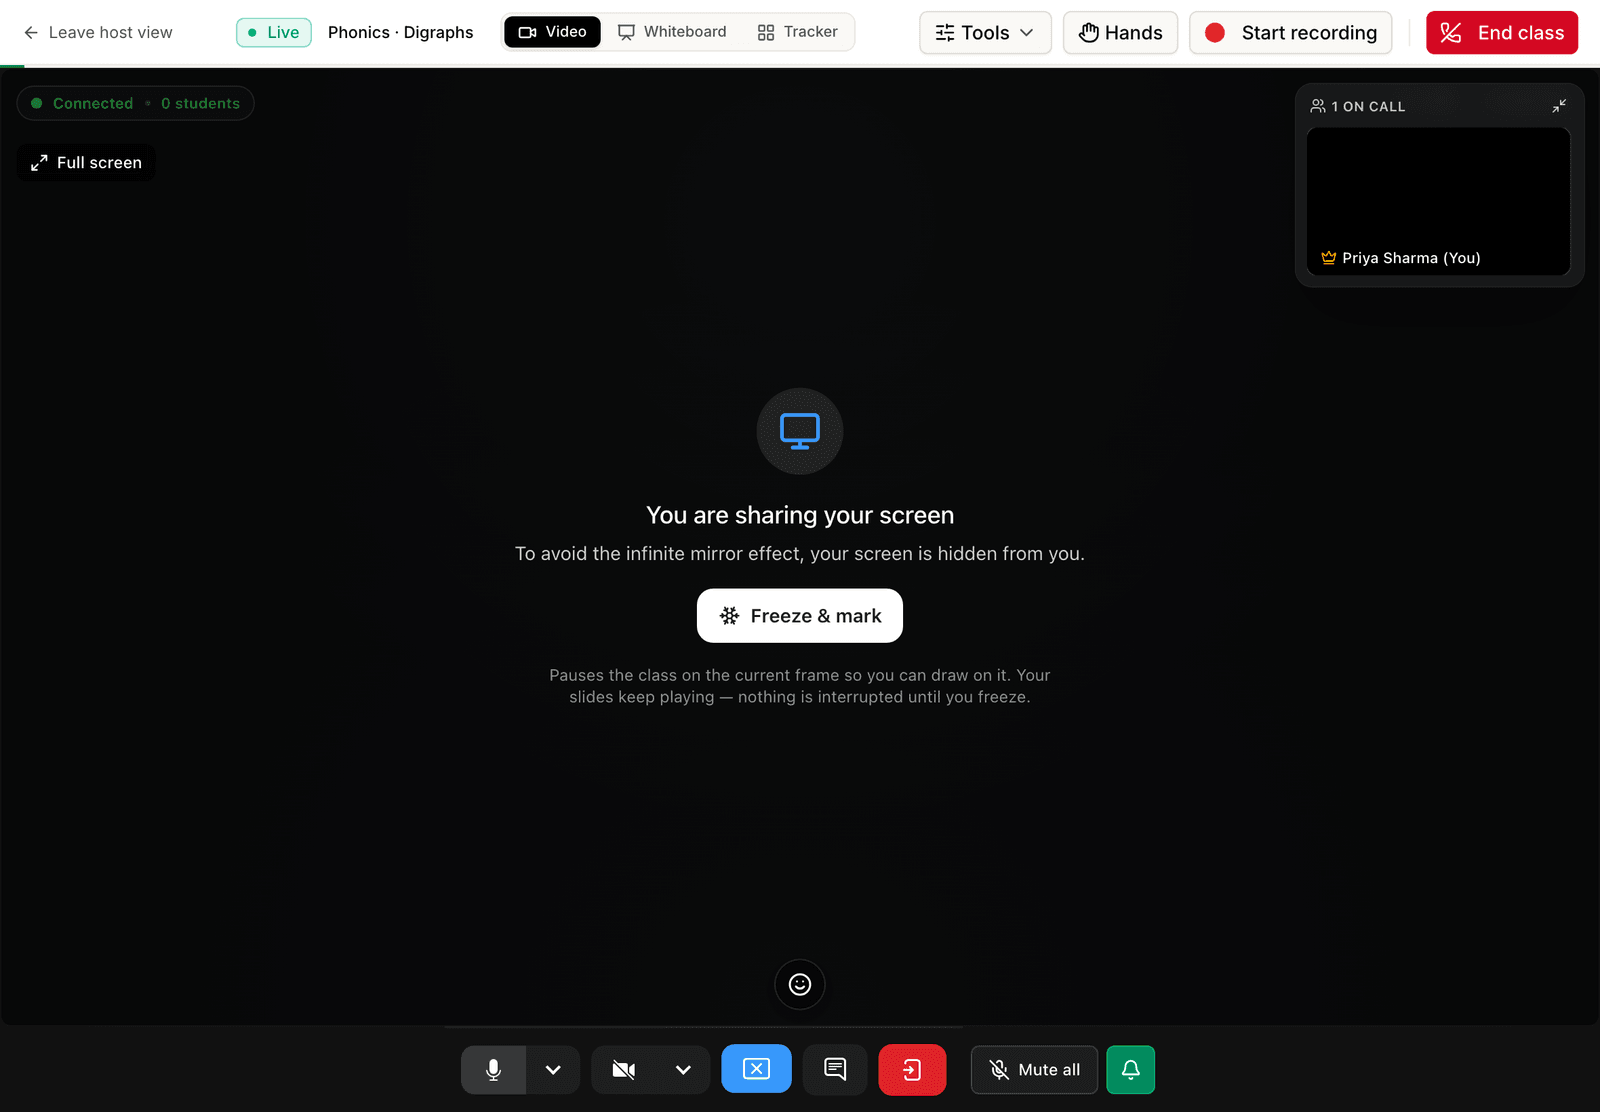
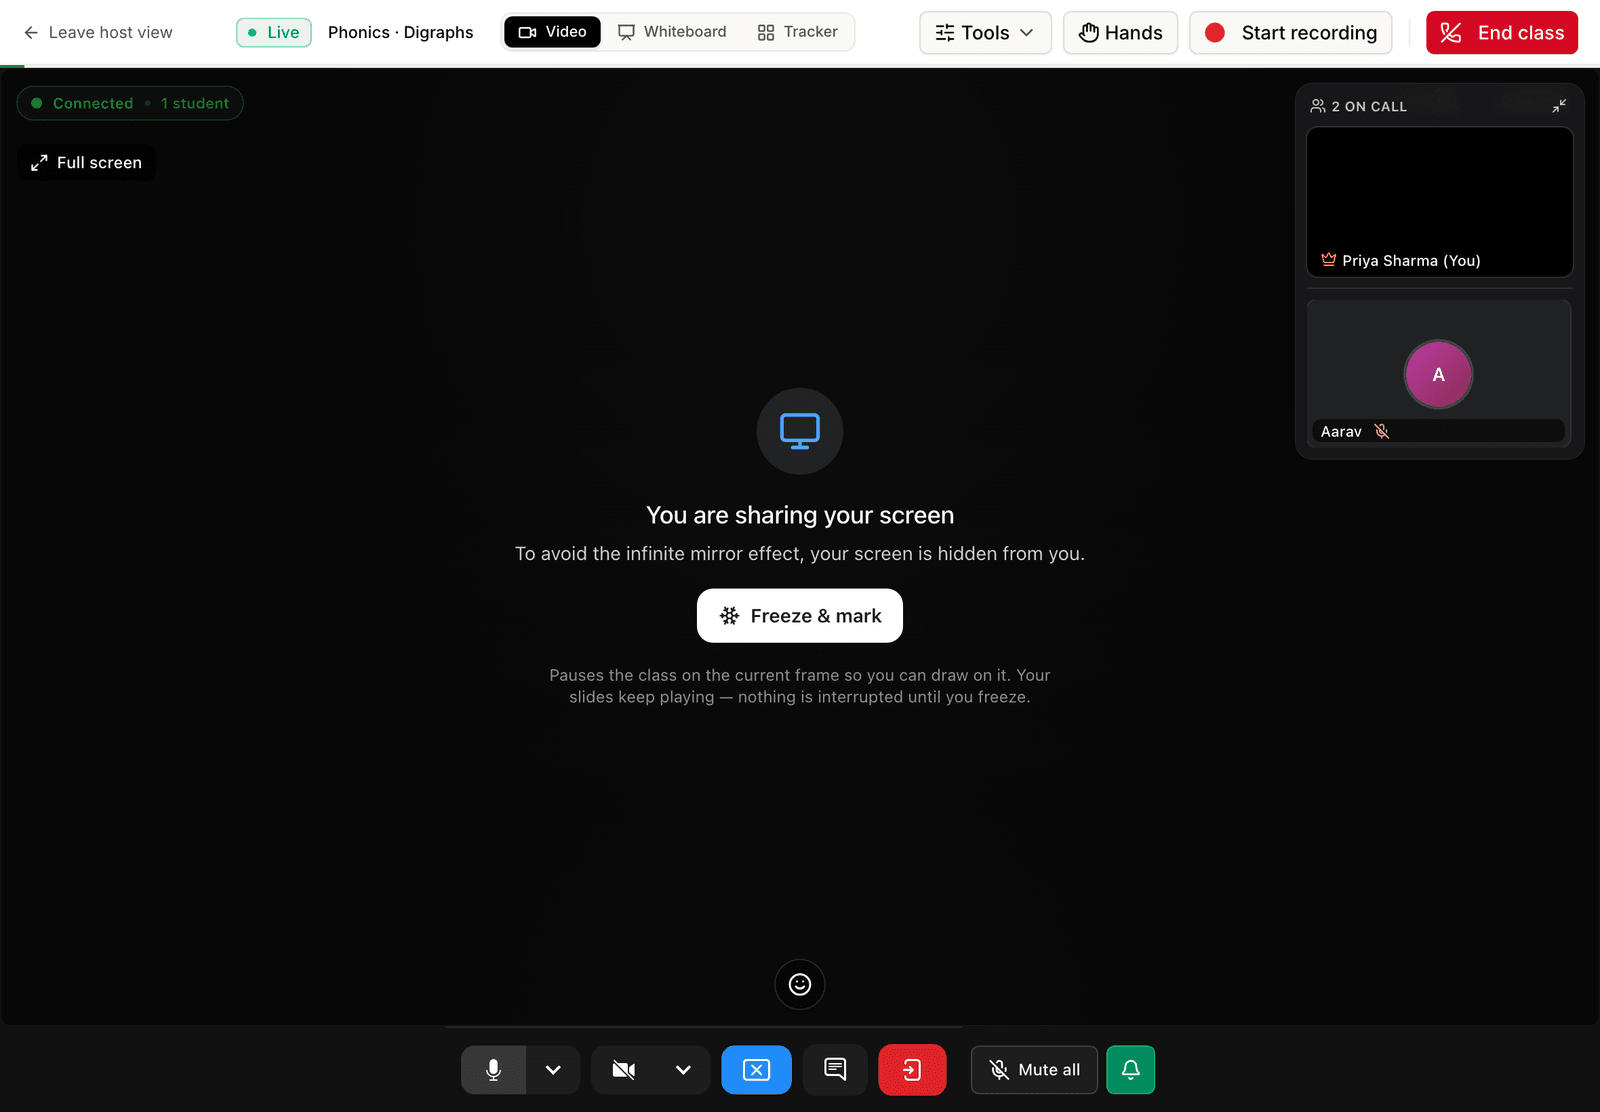
Click Freeze & mark. That takes a picture of the slide exactly as it looks right now and holds it on screen for the whole class. The pen tools appear along the top.
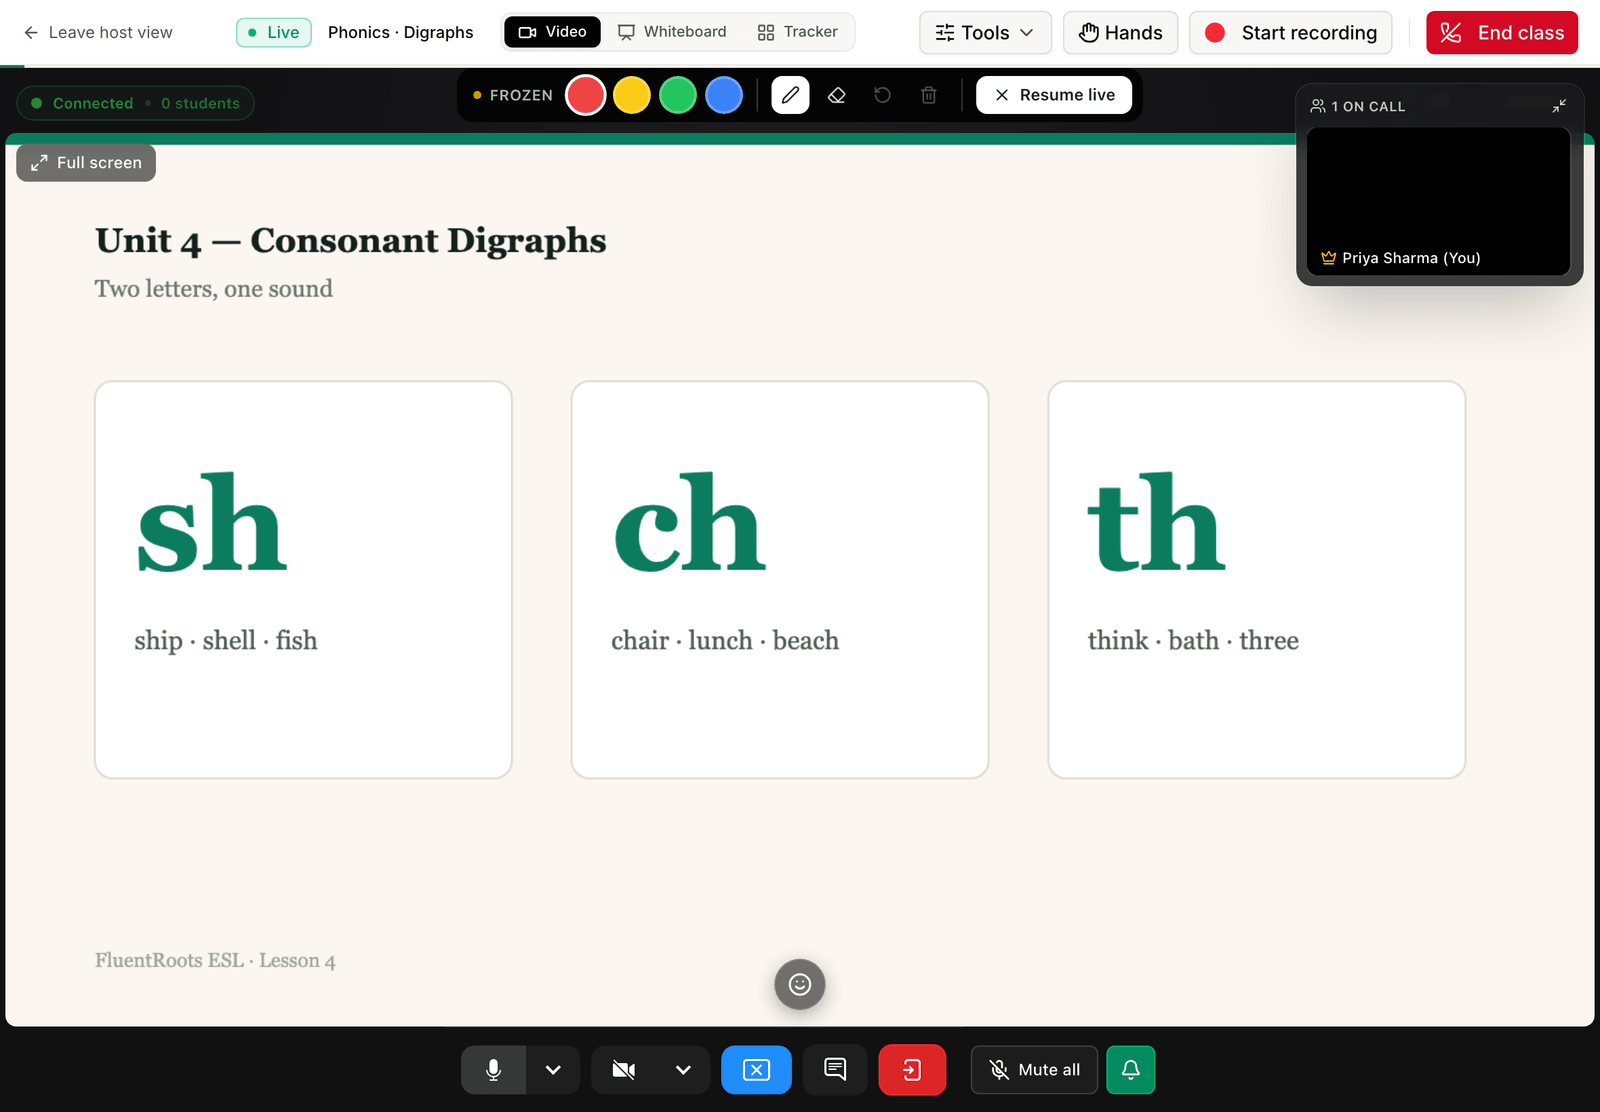
Now draw straight onto the slide with your mouse, trackpad or stylus. Every mark shows up for your students as you make it.
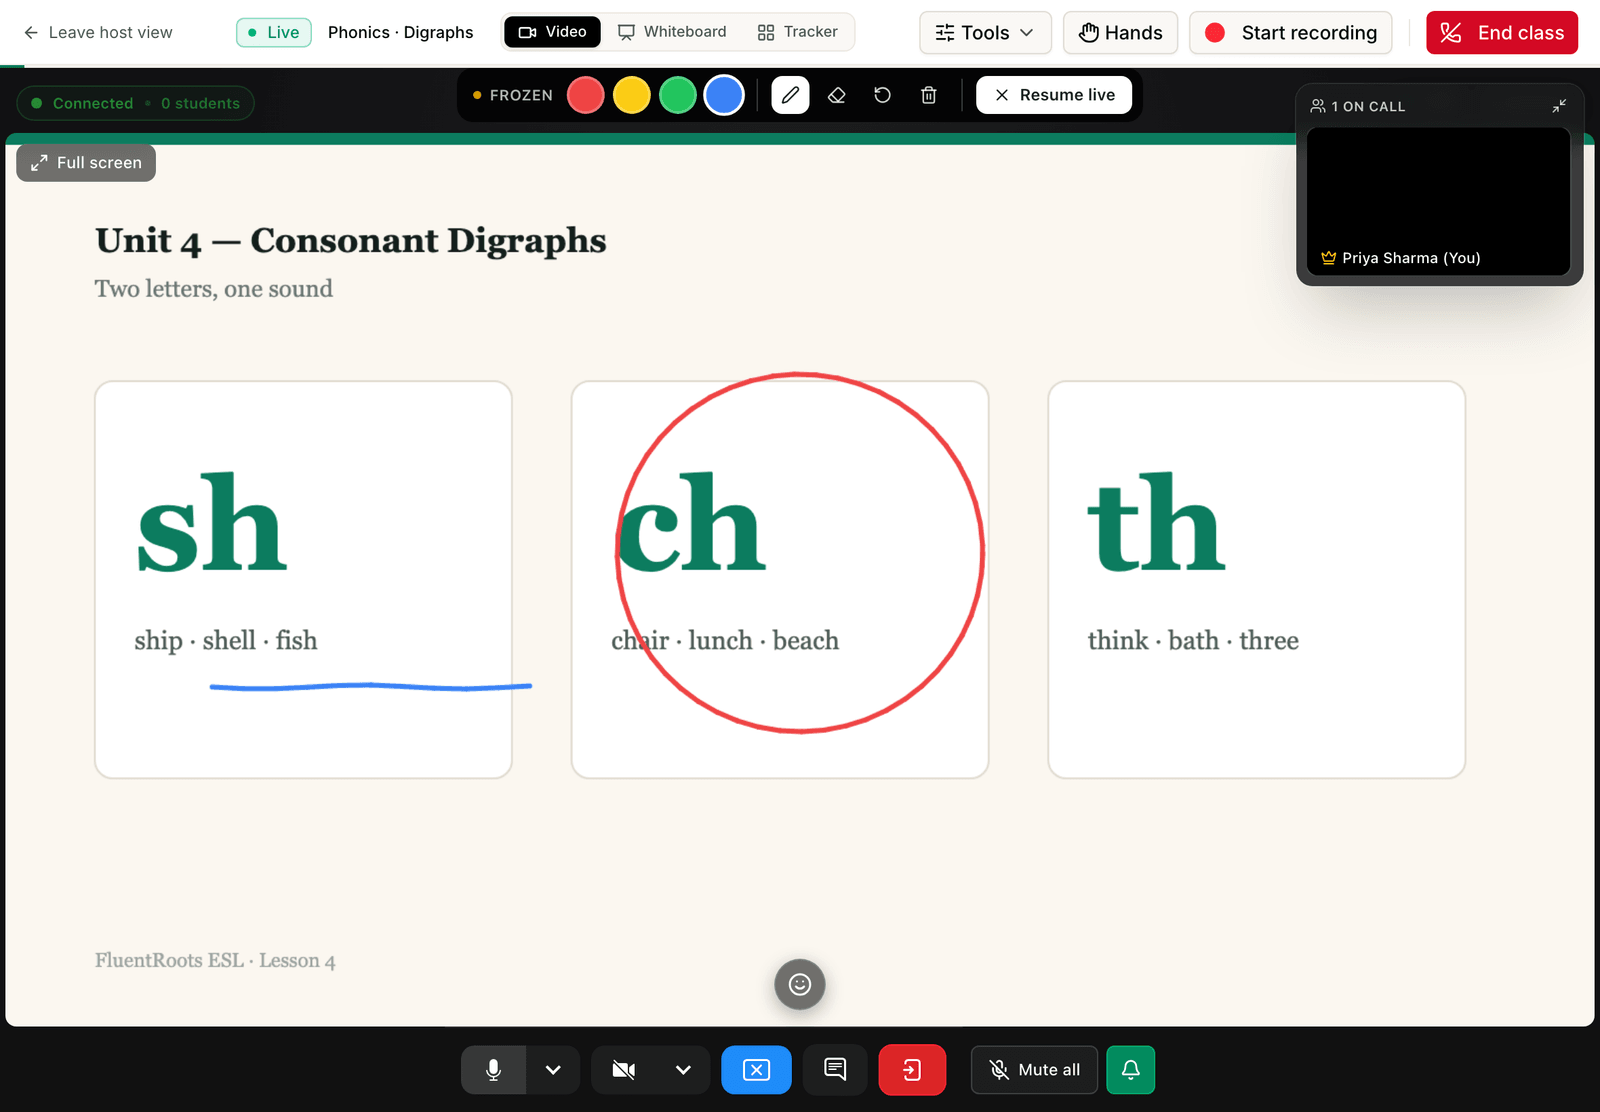
When you're finished, click Resume live. Your marks clear, your live slides come back, and you carry on. Pressing Escape does the same thing.
What your students see
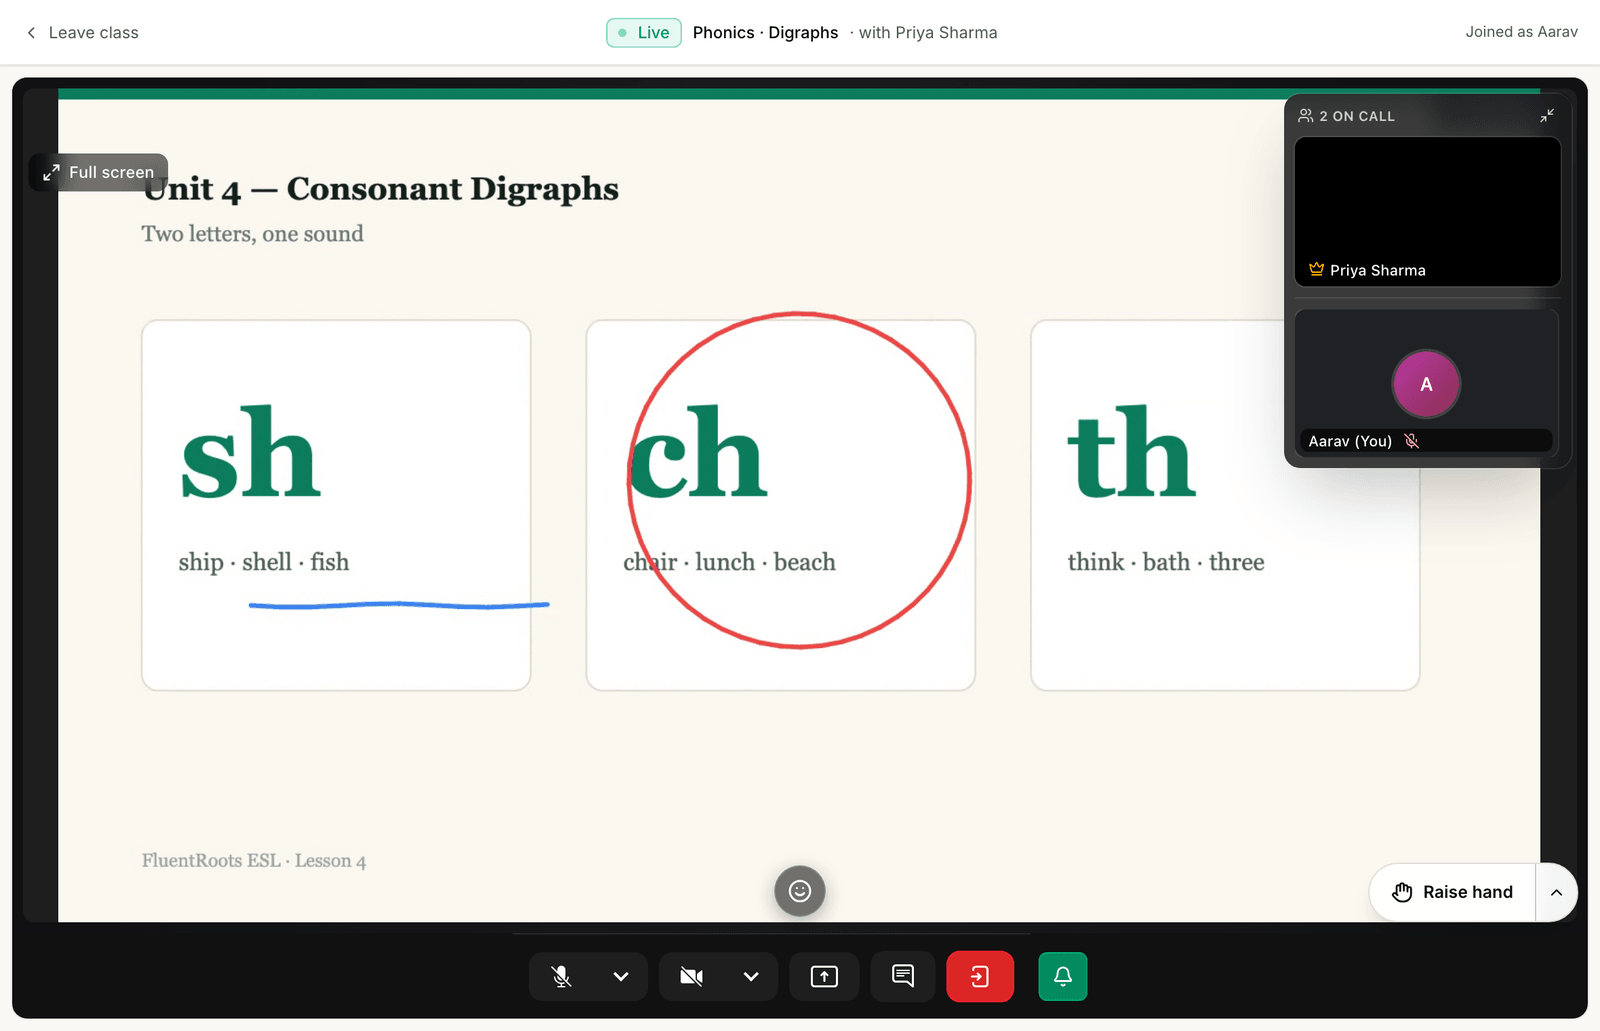
Exactly what you drew, as you draw it, on their own screens wherever they are. There is nothing for them to turn on or install.
The one habit worth building
In practice this is easy, because marking up and moving on are two separate moments anyway: you stop to explain something, you mark it, then you resume and continue.
What freezes, and what keeps running
Only the shared picture pauses. The class itself carries on completely as normal.
- Your voice — keeps going, students hear you the whole time.
- Cameras — everyone stays visible and moving.
- Chat, raised hands and polls — all still work.
- The shared slide — held on the frozen picture until you resume.
- Your own desktop — hidden. Students see the frozen slide, not your screen, so you can move around your computer freely while a slide is frozen.
Your pen tools

- Colors — four inks, chosen to stay readable on top of any slide.
- Pen — draw freehand. It's already selected when you freeze.
- Eraser — tap any single mark to remove just that one.
- Undo — takes back your last mark.
- Clear all — wipes every mark but keeps the slide frozen, so you can start again on the same picture.
- Resume live — back to your live slides. Escape does the same.
Back to live
How this differs from Zoom
In Zoom, annotation floats over a screen that keeps moving. Here the slide holds still while you mark it, and then you resume. For teaching, the pause is usually the better half of the trade: everyone is looking at the same fixed thing while you explain it, and the frozen picture is actually sharper than the live share, so small text on a slide is easier to read rather than harder. The one thing you can't do is scribble on a playing video.
What you can use it with
Anything you can put on screen. It captures the picture, so it doesn't matter what produced it — Canva, Gamma, Google Slides, Google Docs, a PDF, a spreadsheet, a website. Your animation-heavy decks stay exactly as you built them, and there is nothing to export, convert or upload: you present the same file the same way, and the pen is simply there when you want it.
- Where is the Freeze & mark button?
- It only appears while you're sharing your screen, on your own tab, in the middle of the panel that says 'You are sharing your screen'. If you're not sharing yet, start the share first.
- My students say the slide is stuck. What happened?
- It's still frozen. Click Resume live, or press Escape, and your live slides come straight back.
- The class saw me switch windows — can I avoid that?
- Yes. That happens when you share your whole screen instead of a single window. Stop the share and re-share just the tab or window your slides are in, and your switching is invisible to the class.
- Will my marks be in the class recording?
- Yes. What you draw is part of what the class sees, so it's part of the recording too — students watching it back get the explanation exactly as you gave it.
- Can students draw on the slide as well?
- No. Freeze & Mark is a teaching tool, so only the person presenting can draw. If you want students drawing, use the Whiteboard tab and turn on 'Allow students to draw'.
Related